Test Executing Section
Submitting Your Test
Once you've created your test, it's time to see it in action! To start it, simply click the ▶ Play button on the dashboard.
What to Expect
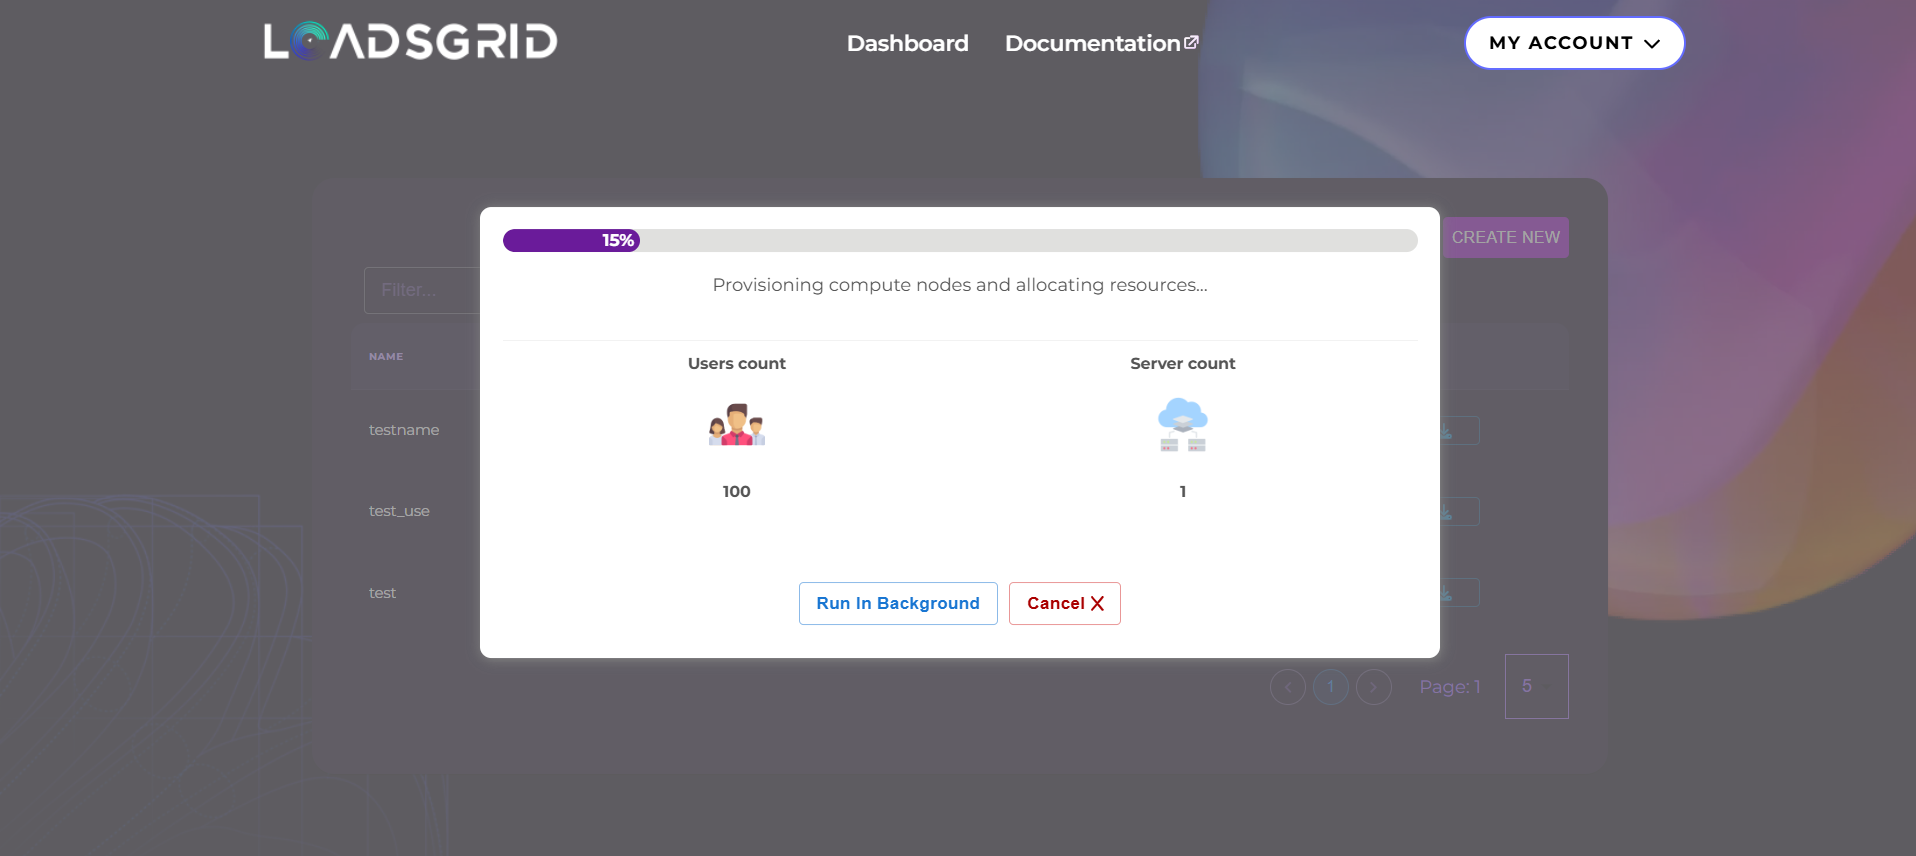
As you initiate the process, you'll encounter an initializing moment that visually represents the system's progress from 0% to 100%. This is not just a loading screen; it’s a dynamic view into what’s happening behind the scenes.
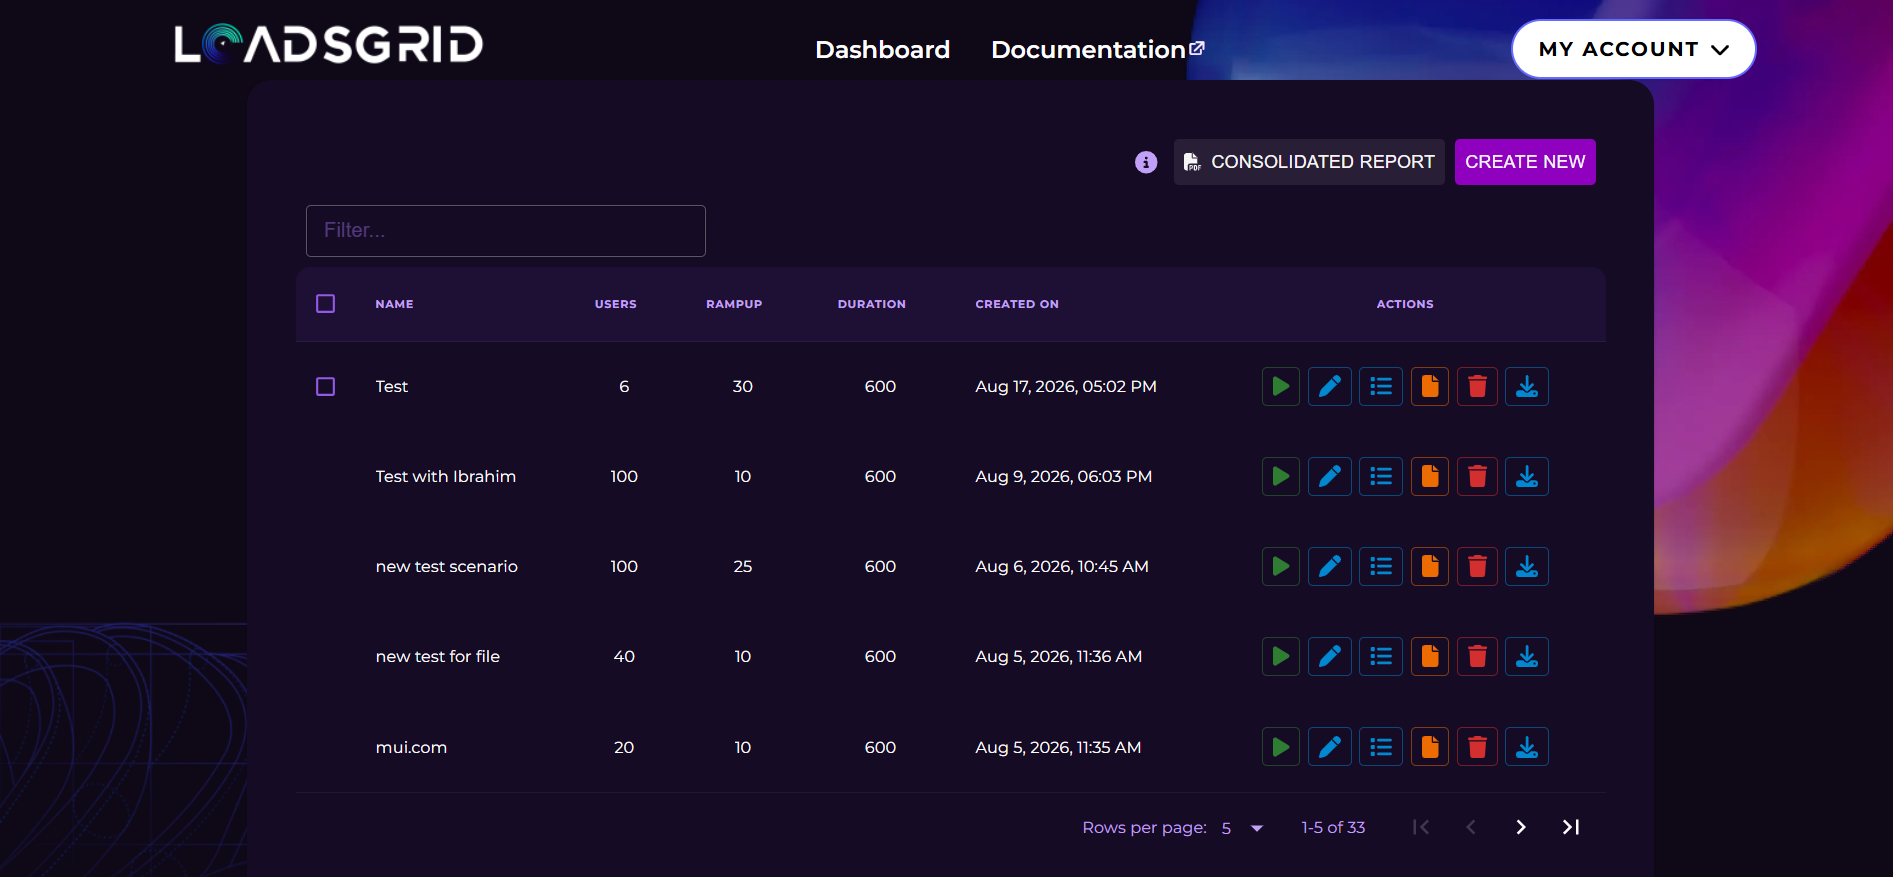 During this phase, the system performs essential tasks to ensure everything is set up correctly. You’ll see a loading animation that provides real-time feedback on the status of your test, reassuring you that the process is underway.

Initializing Process
As the test initializes, a progress bar displays the current percentage of completion together with the stage it is on:
- Initializing test environment
- Provisioning compute nodes and allocating resources
- Booting load generators and preparing virtual users
- Syncing monitoring dashboards and validating connections
- Launching load test — you are then redirected to the results page
Stopping a Run
While a test is executing, the ▶ Play button of that row turns into a red Stop button. Clicking it asks you to confirm before the execution is stopped. A stopped run is kept in the history and marked Cancelled, but it produces no results and no report.
If the Test Does Not Start
The run is rejected, with the reason shown on screen, when:
- the number of users or the duration of the test exceeds what your plan allows;
- the test is already executing;
- one of the target URLs can no longer be resolved — addresses are re-validated at execution time, because DNS may have changed since the test was created;
- another test of yours is still executing and your plan allows only one run at a time — Only one test allowed to be executed in your plan. Parallel runs become available starting from the Monthly package.