Edit Section
Modifying Your Test
After you've created your test, you may find that you want to make some adjustments. To do this, click the ✏️ Edit button in the Actions column on the dashboard. This opens the test in the scenario form with all of its current values already filled in.

Editable Parameters
Every field of the test can be changed here — the form is the same one used when creating a test:
- Test Name — update the title of your test to better reflect its purpose.
- Region — switch the region the load is generated from (EU or KSA).
- Schedule Test — add, change or remove a scheduled date and time.
- Test Source — switch between target links and your own JMeter file.
- Link or JMeter File — change the URLs (up to 10, comma-separated) or upload a new script and additional
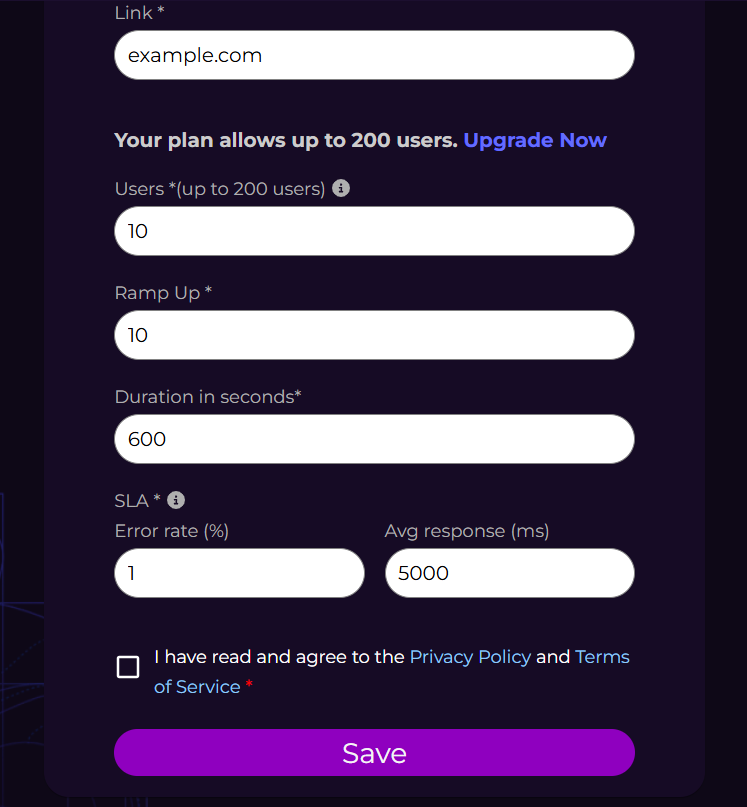
.csvfiles. - Users, Ramp Up, Duration — adjust the load profile. The same limits apply as when creating a test.
- SLA — change the error rate and average response time that decide whether a run is marked Passed or Failed.
Files Already Attached
When the test already has a JMeter script or additional files, they are listed in an information message above the form, so you can see what is currently in use.
- Leave the message alone to keep the existing files.
- Upload a new file to replace them.
- Close the message to remove the attached file from the test.
Saving Your Changes
Once you’ve made the necessary changes, click Save and confirm. Your modifications are recorded and take effect the next time you run the test.
By taking advantage of these editing options, you can tailor your tests to your specific requirements, ensuring more accurate and relevant results.